Baltimore’s Rooftop Solar Installation Tools and Tips
Baltimore’s Rooftop Solar Installation Tools and Tips
Introduction
As the demand for clean and renewable energy solutions surges, more and more homeowners in Baltimore are turning to rooftop solar installations to power their homes. Solar panels are not only environmentally friendly, but they can also help homeowners reduce their energy bills and increase the value of their properties. However, successfully installing solar panels requires careful planning, the right tools, and a thorough understanding of the unique characteristics of Baltimore roofs. In this article, we will explore the tools and tips necessary for a successful rooftop solar installation in Baltimore.
Installing Solar Panels on Baltimore Roofs
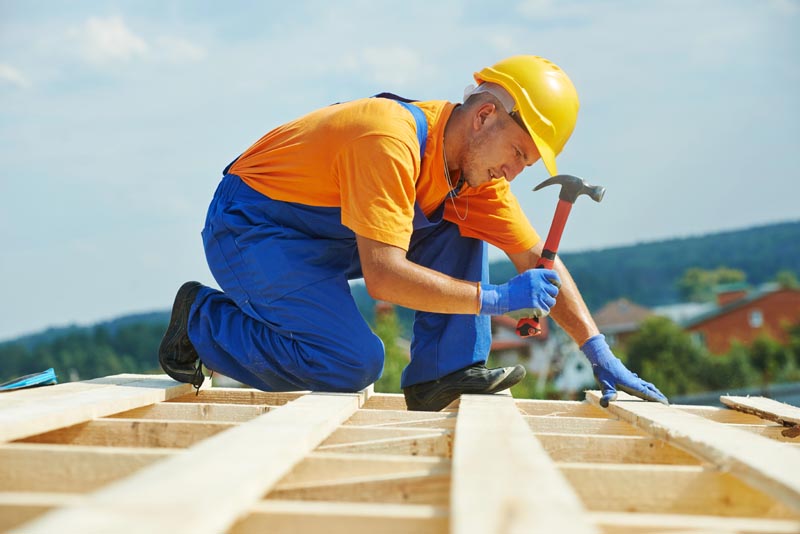
When it comes to installing solar panels on Baltimore roofs, there are a few key factors to consider. First and foremost, it is crucial to evaluate the structural integrity of the roof to ensure that it can safely support the additional weight of solar panels. Consulting with a professional roofer is highly recommended to conduct a thorough inspection and provide recommendations or repairs if needed.
Another important aspect to consider is the direction and angle of the solar panels. Baltimore receives an average of 213 sunny days per year, making it highly suitable for solar energy production. To maximize the output of solar panels, they should typically be installed facing south at an angle of around 30 to 45 degrees. However, the exact tilt and azimuth of the panels may vary depending on the specific location and roof orientation.
Furthermore, the roofing material used in Baltimore homes also plays a significant role in determining the installation process. For homes with asphalt shingles, solar panel installation is relatively straightforward and can often be achieved by attaching mounting brackets directly onto the roof. However, for homes with other roofing materials such as clay tiles or slate, additional care and expertise may be required to ensure a proper and secure installation.
Tools and Steps for Solar Installation in Baltimore
To successfully install solar panels on Baltimore roofs, several tools are essential. These include:
- Solar Panel Racking: Racking systems are used to securely mount the solar panels onto the roof. They provide a stable foundation and allow for adjustments to optimize the panel’s position.
-
Fasteners and Mounting Hardware: Strong, corrosion-resistant fasteners and mounting hardware are required to attach the racking systems to the roof. Stainless steel or aluminum hardware is often recommended due to their durability and resistance against Baltimore’s weather conditions.
-
Flashing and Sealants: Proper flashing and sealants are crucial for maintaining a watertight seal around the solar panel mounting brackets. This prevents water penetration and potential roof leaks.
-
Wiring and Connectors: Electrical wiring and connectors are necessary for connecting the solar panels to the home’s electrical system. It is important to follow local electrical code regulations and hire a licensed electrician for this step.
-
Safety Equipment: Safety should always be a top priority during solar panel installation. Essential safety equipment includes harnesses, fall protection systems, and proper training to prevent accidents or injuries.
The installation process for solar panels in Baltimore typically involves the following steps:
- Roof Inspection: A thorough inspection of the roof is conducted to assess its suitability for solar panel installation and identify any necessary repairs.
-
Design and Permitting: A solar system design is created, taking into account the roof layout, shading, and energy needs. The design is then submitted for necessary permits from the local authorities.
-
Mounting and Racking: The solar panel racking systems are installed on the roof, ensuring proper alignment and secure attachment.
-
Panel Installation: The solar panels are mounted onto the racking systems, ensuring proper orientation and optimal exposure to sunlight.
-
Electrical Connection: The solar panels’ wiring and connectors are properly installed, including the connection to the home’s electrical system.
-
Final Inspection and Activation: A final inspection is conducted to ensure compliance with all safety and electrical regulations. Once approved, the solar system is activated, and homeowners can begin enjoying the benefits of solar energy.
By following these tools and steps, homeowners in Baltimore can successfully install rooftop solar panels, reduce their carbon footprint, and enjoy the long-term cost savings and environmental benefits of solar energy. Consulting with experienced professionals and staying up to date with local regulations will contribute to a smooth and efficient installation process.